Vector Bokeh Christmas Background Tutorial
In this tutorial you will learn how to very easily create vector bokeh background in Adobe Illustrator.

Start with creating basic backdrop.
I will use a raster image below to create gradient mesh background:
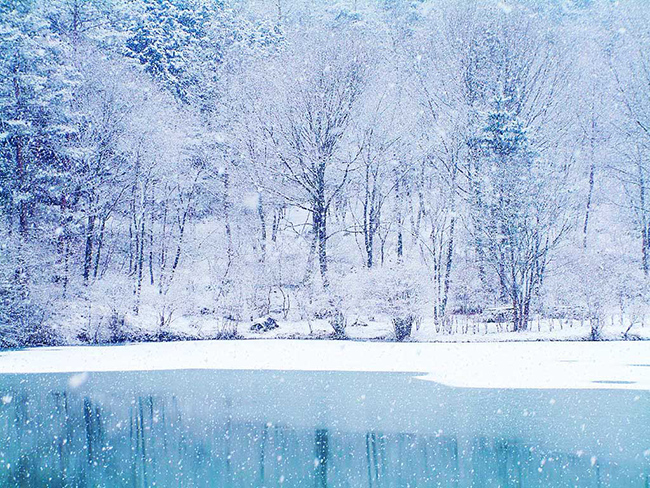
Step 1. Choose raster image and convert it to gradient mesh backdrop.
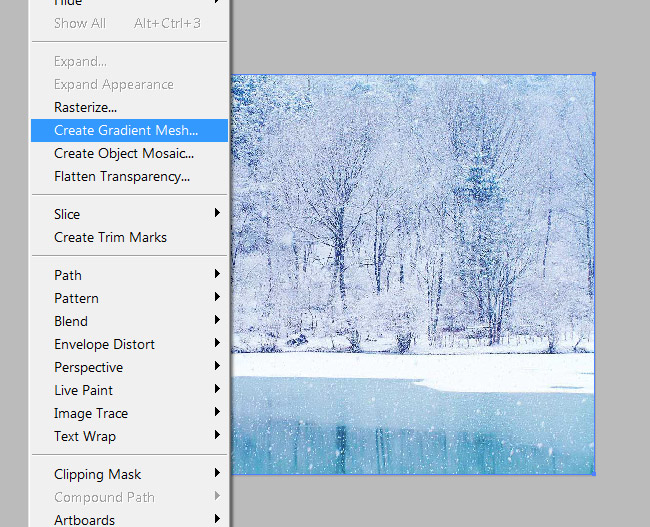
With image selected Go to Object/Create Gradient Mesh.
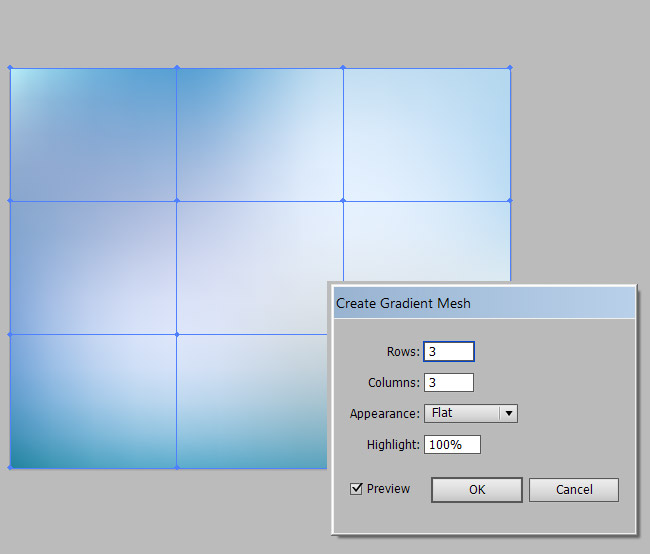
I have choosen 3 rows and 3 columns. Depending on your image play with these settings until you get the best result.
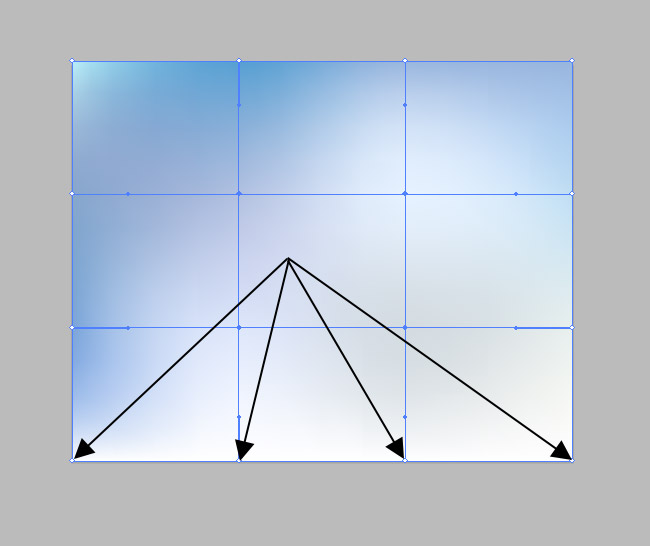
Also now you can edit your gradient mesh. I changed these four bottom points to white. Use direct selection tool to select each point of gradient mesh.
Now you can lock your background and proceed to the next step.

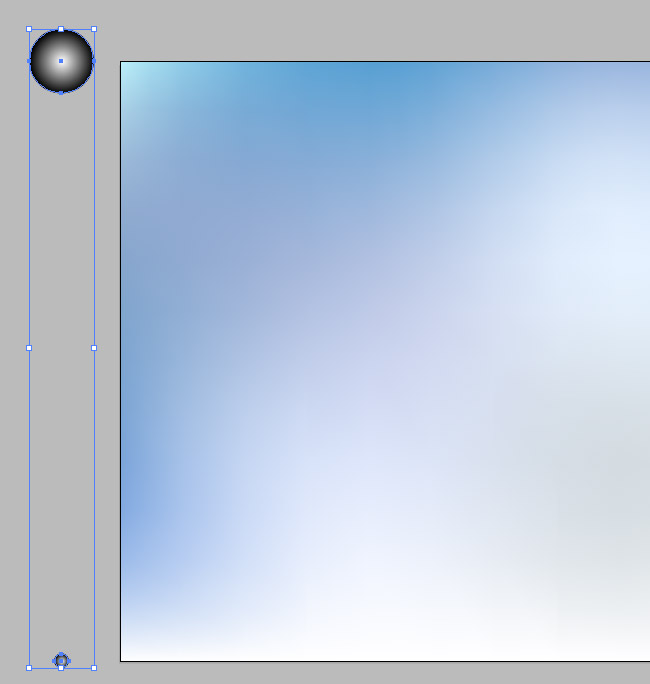
Step 2. Creating bokeh effect using circles and blend tool. First draw a circle and apply a gradient to it. Gradient should be white at the center of the circle and black at the edges. Colors have to be RGB. Now open Transparency panel (Window/ Tranparency) and with circle selected choose from normal to Color Dodge. Make a copy of this circle by holding ALT and draggint it to the bottom. Also make this new circle a lot smaller then the original.
Refer to the example bellow:
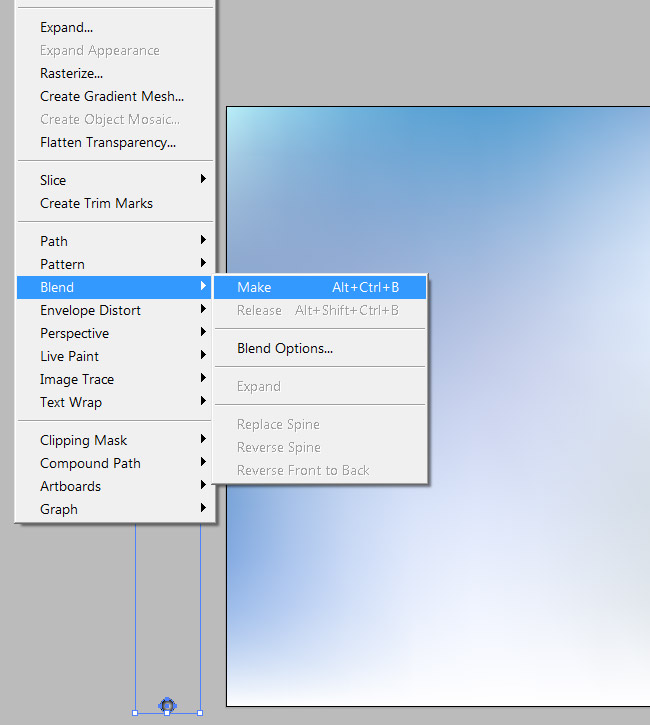
Create more circles using blend tool.
With both large and small circles selected go to Object/Blend and click Make.
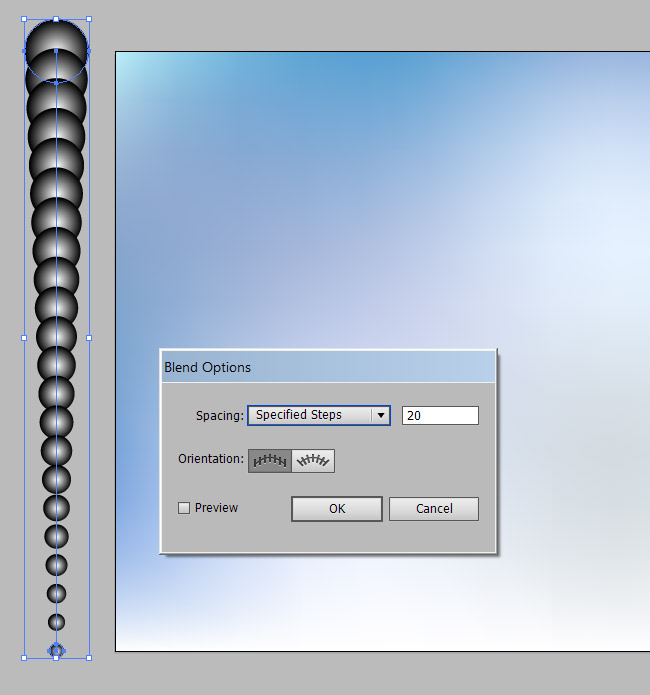
Adjust the settings of the blended circles by going to Object/Blend and click Blend Options...
Use these setting like in the example below:
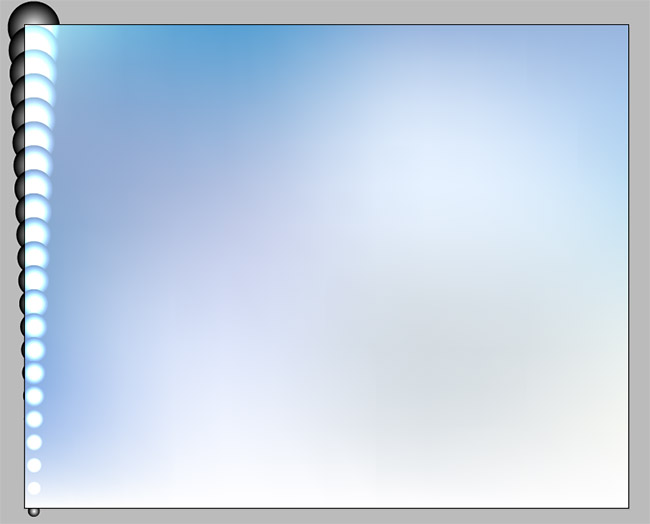
Now drag this array of circles on the background like in the example below:
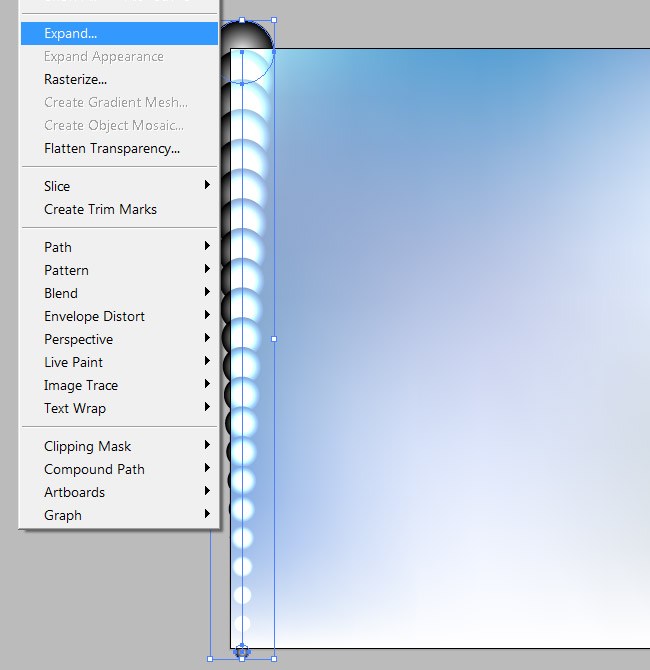
Expand these blended circles to actualy create each circle.
Go to Object and click Expand.
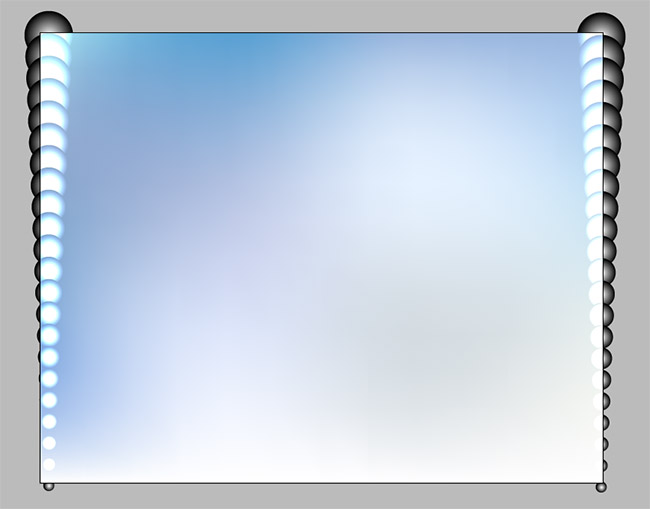
Create a copy of these circles by holding ALT and draging it to the other side of the background.
Refer to the example bellow:
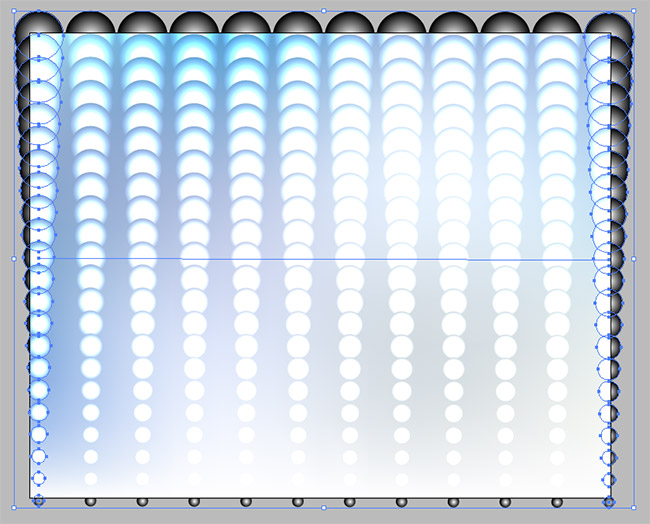
Select both groups of circles and use blend tool again to create more groups of circles like in the example bellow:
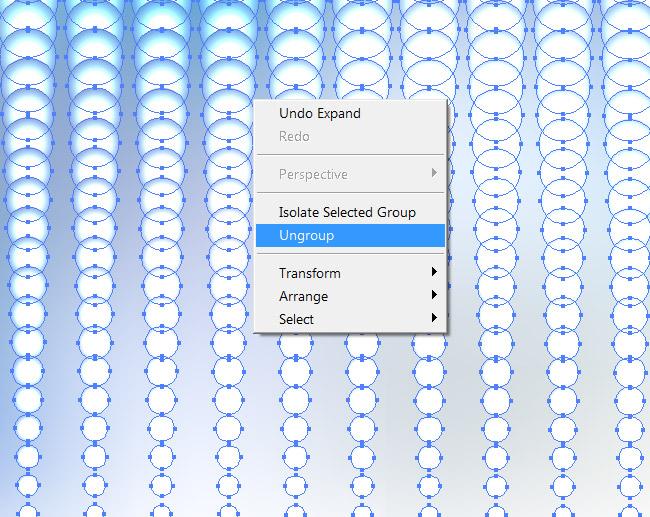
Now select everything and ungroup (right mouse click) until you can select each individual circle.
Now select all circles and scatter them around randomly.
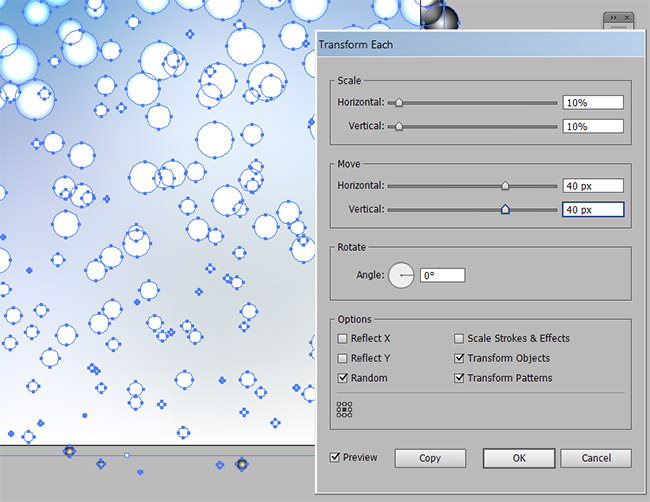
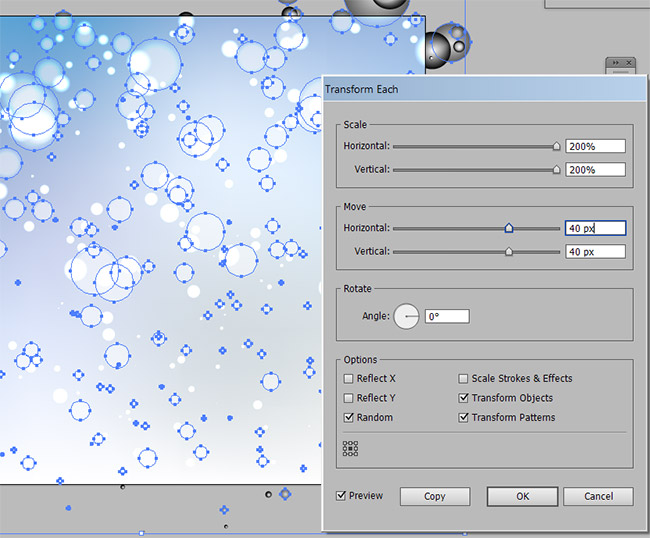
Go to Tranform and hit Tranform Each.
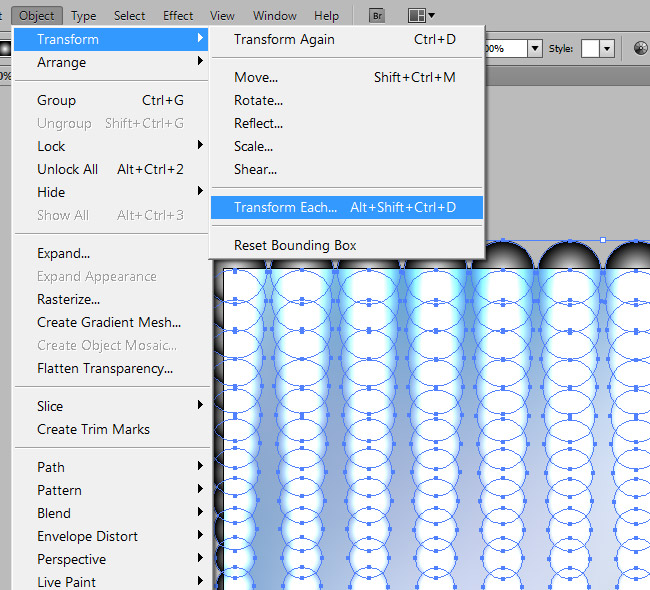
In the Transform Each Window use these settings and click OK.
Tranform it again to scatter it more randomly by going to Tranform and clicking Tranfrom Again.
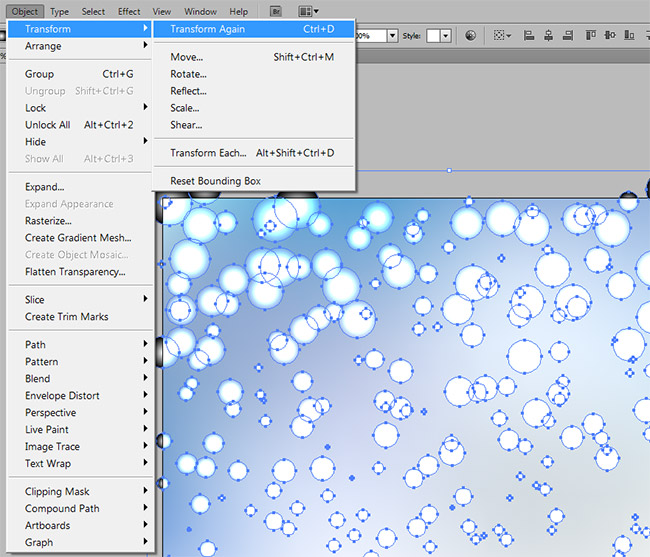
If everything done correctly your result should look similar to example bellow:
Now select all circles and make a copy of selection on top by holding CTRL + C to copy and CTRL + F to paste on top.
Now when you did this you will automaticaly have selected this new group on top. Do not deselect it.
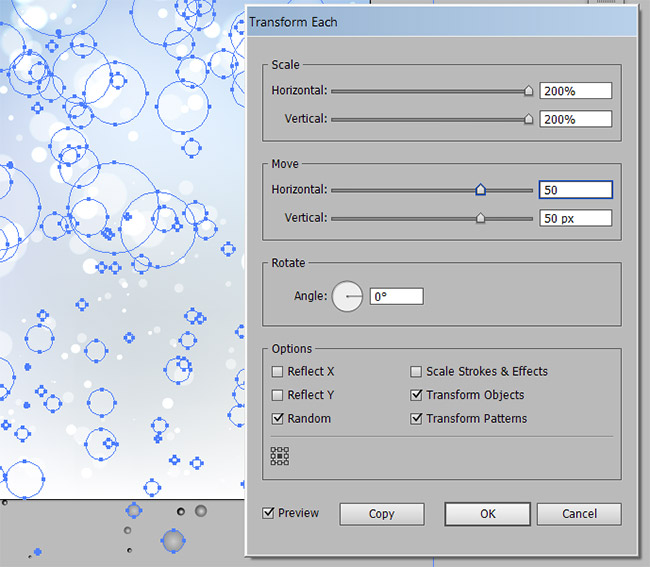
Go to Transparency panel and make Opacity 50%. Now go to Tranform Each panel to use these settings and click OK:
Do not deselect this newly created group
Now you have created a second group of circles on top that are larger and have 50% opacity.
With these 50% opacity circles still selected create new copy of it again by holding CTRL + C to copy and CTRL + F to paste on top.
Now you have created third copy on top again. Do not deselect it. Make this new group of circles opacity 20%.
Now go to Transform Each panel again and use these settings:
Now you have 3 groups of circles with three different opacities.
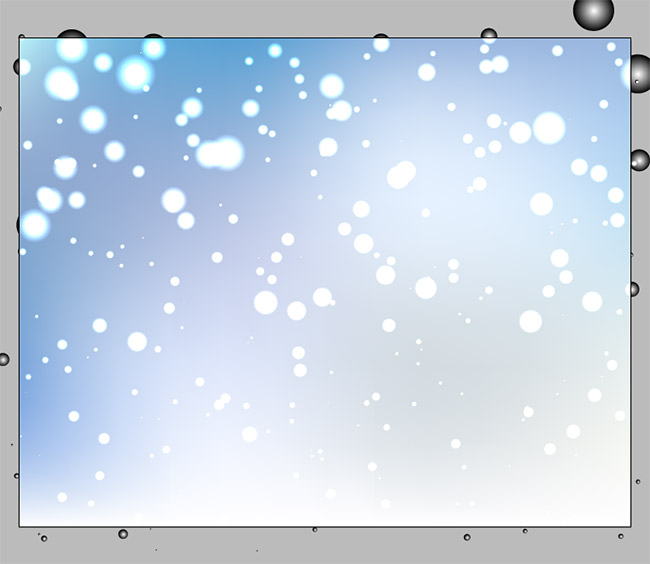
If done corectly your result should be similar to example bellow:

Crop unecessary objects by creating rectangle that is same size that your artboard, select everything, click right mouse button and click Make Clipping Mask.
Done.

Please refer to comments section with your questions.
COMMENTS